
Youth Chairs are designed for young children who have grown beyond the need for
a high chair but still require a certain boost in height for eating meals or participating
in playtime like arts & crafts. When you purchase a Youth Chair it creates an opportunity
to help make your loved one feel special. He or she will be delighted that you gave
them their "big boy" or "big girl" chair.
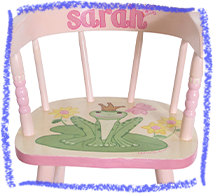
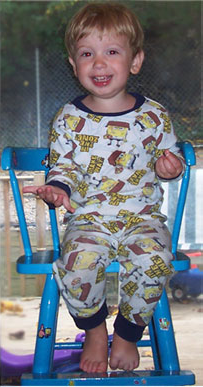
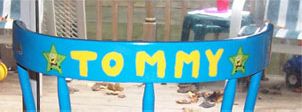
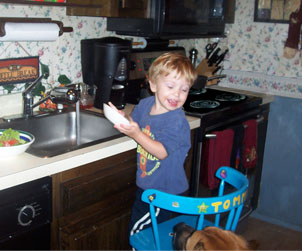
Since several varieties of our Youth Chairs come unfinished (without a polyurethane, stain or paint) many
customers choose to customize the chair for a one-of-a-kind end result. This "blank canvas" approach allows for personalization as well as unleashing creativity. Decorating a Youth Chair with your child (or grandchild, godchild, nephew, niece etc.) is not only fun, but it can get the child away from the T.V. and involved with a hands on process. It is through such experiences that fond family memories are created. Imagine a bonding time that instills creativity, imagination, and fun for all that they will be able to enjoy everyday when it is done!
Below we have included some suggestions for creating a personalized chair. It's a budget friendly way to make something just for the little ones in your life. Best of all they can participate by helping decide on colors and other decorative elements.

.png)
|

.png)
|

.png)
|
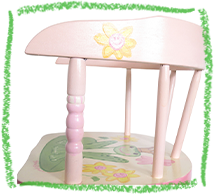
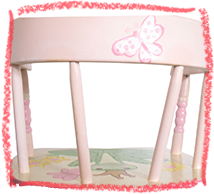
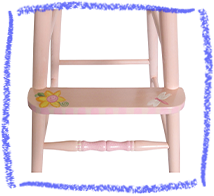
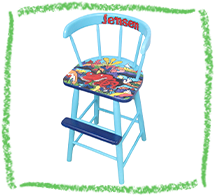
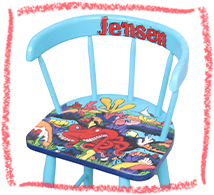
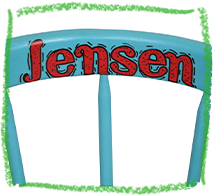
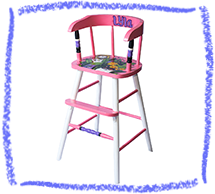
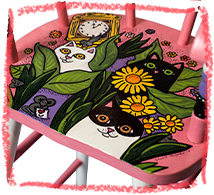
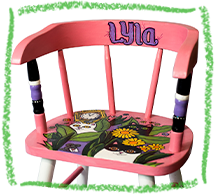
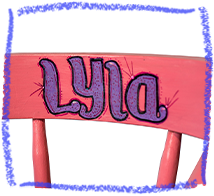
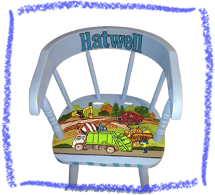
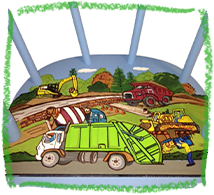
Click on the Youth Chair Project you wish expand and see step by step instructions for your project
Between painting and staining the potential is unlimited. However, if you are on
a time crunch it will please you to know that many of our chairs are available pre-stained.
Feel free to browse our collection of Youth Chairs and view all your unfinished
and finished options.


|
|
Want to show off your Youth Chair creation? Send us your pictures and we may feature them on our site. Tell us about the painting or staining process, share your special tips and tricks. And most of all don't forget to let us know what your little one thought of their brand new Youth Chair!
|

|
|
|
|
|
||